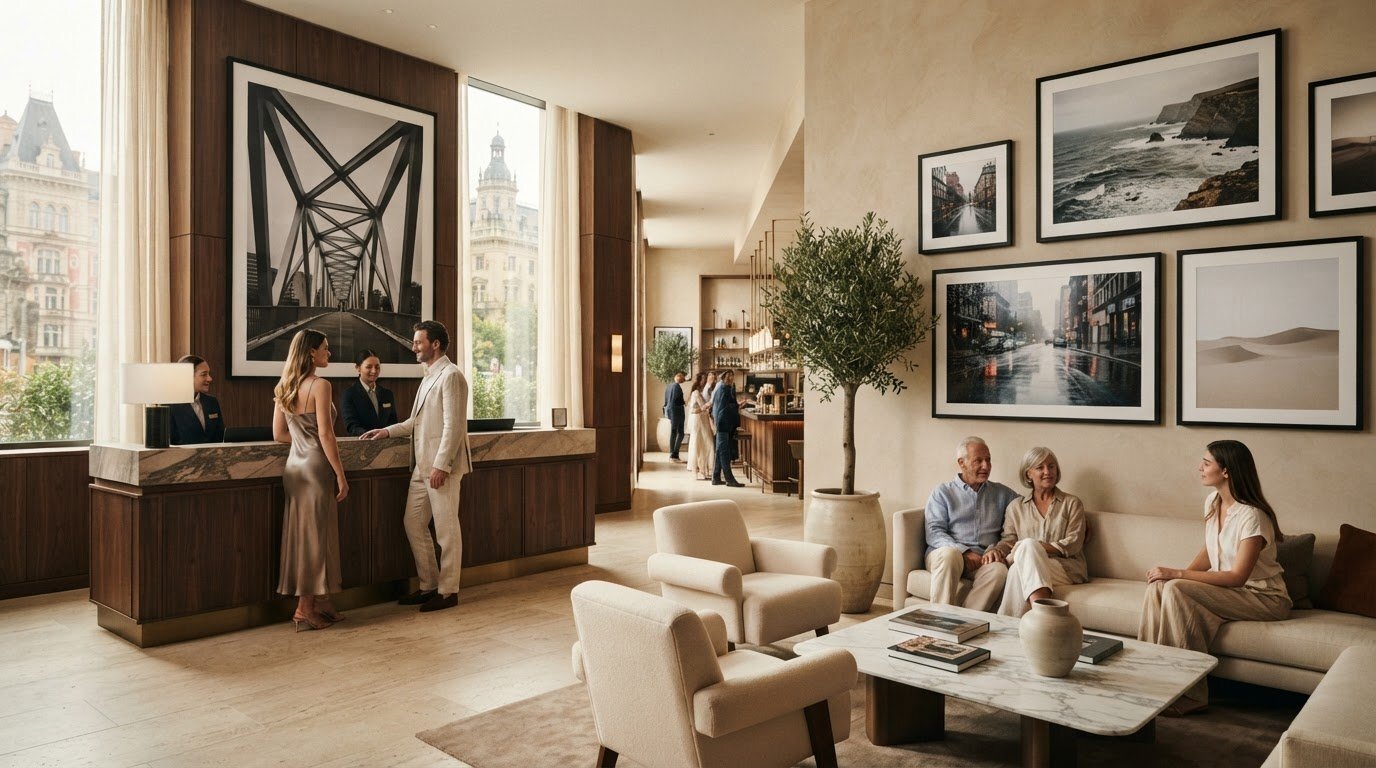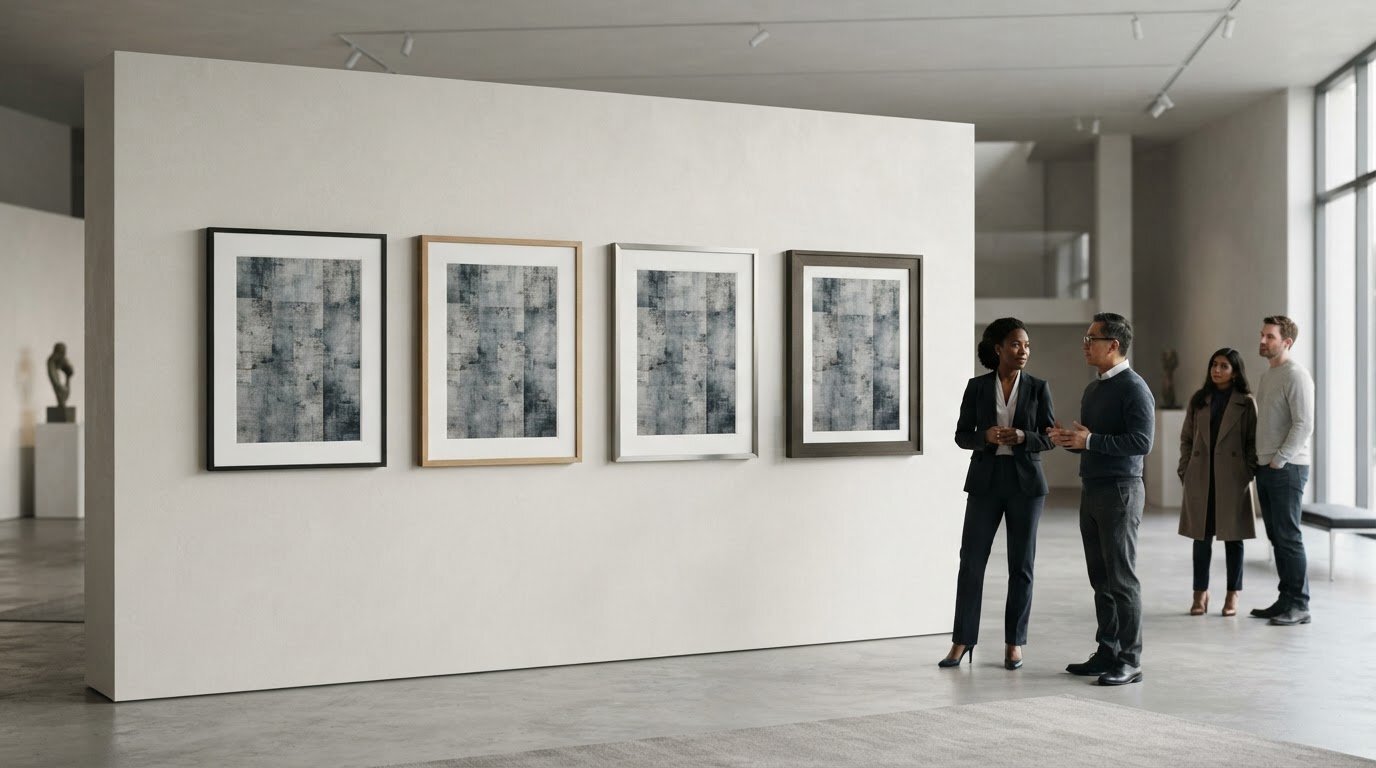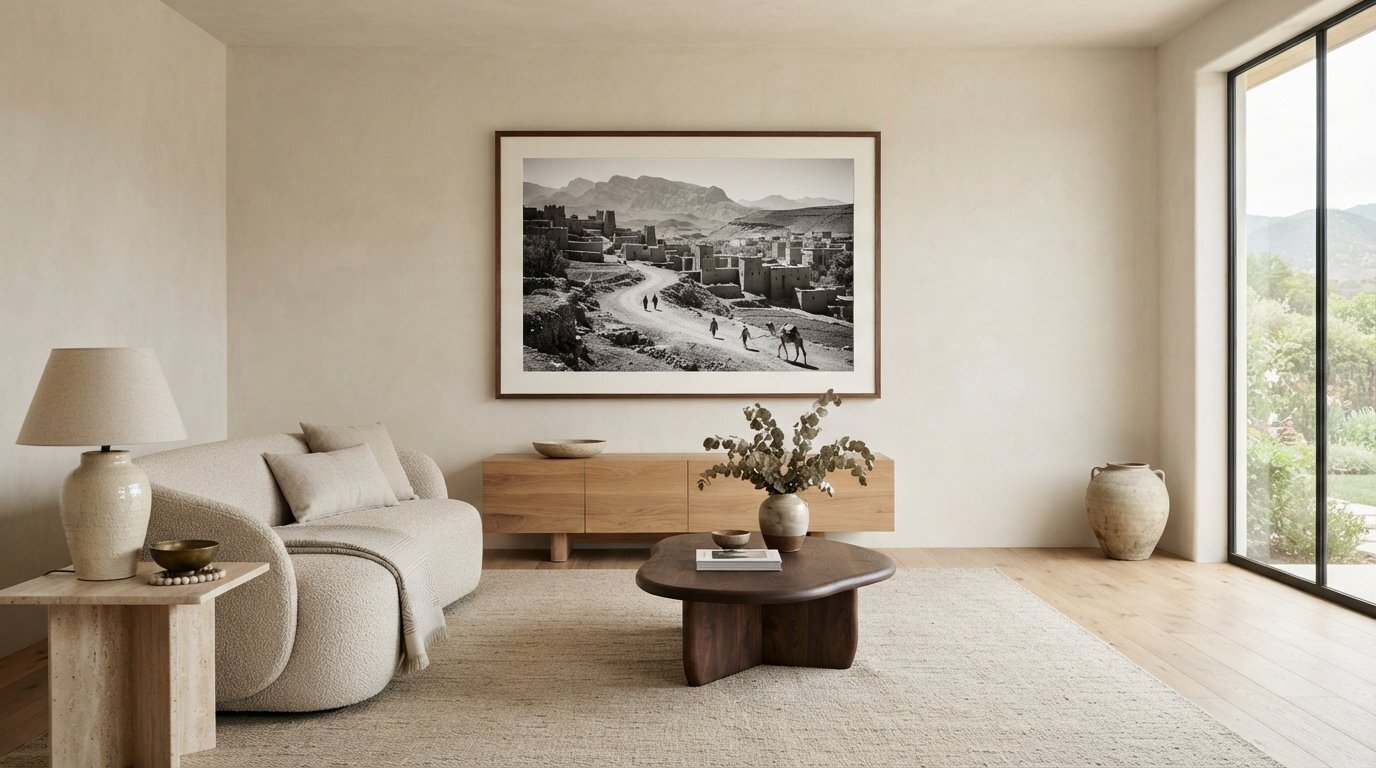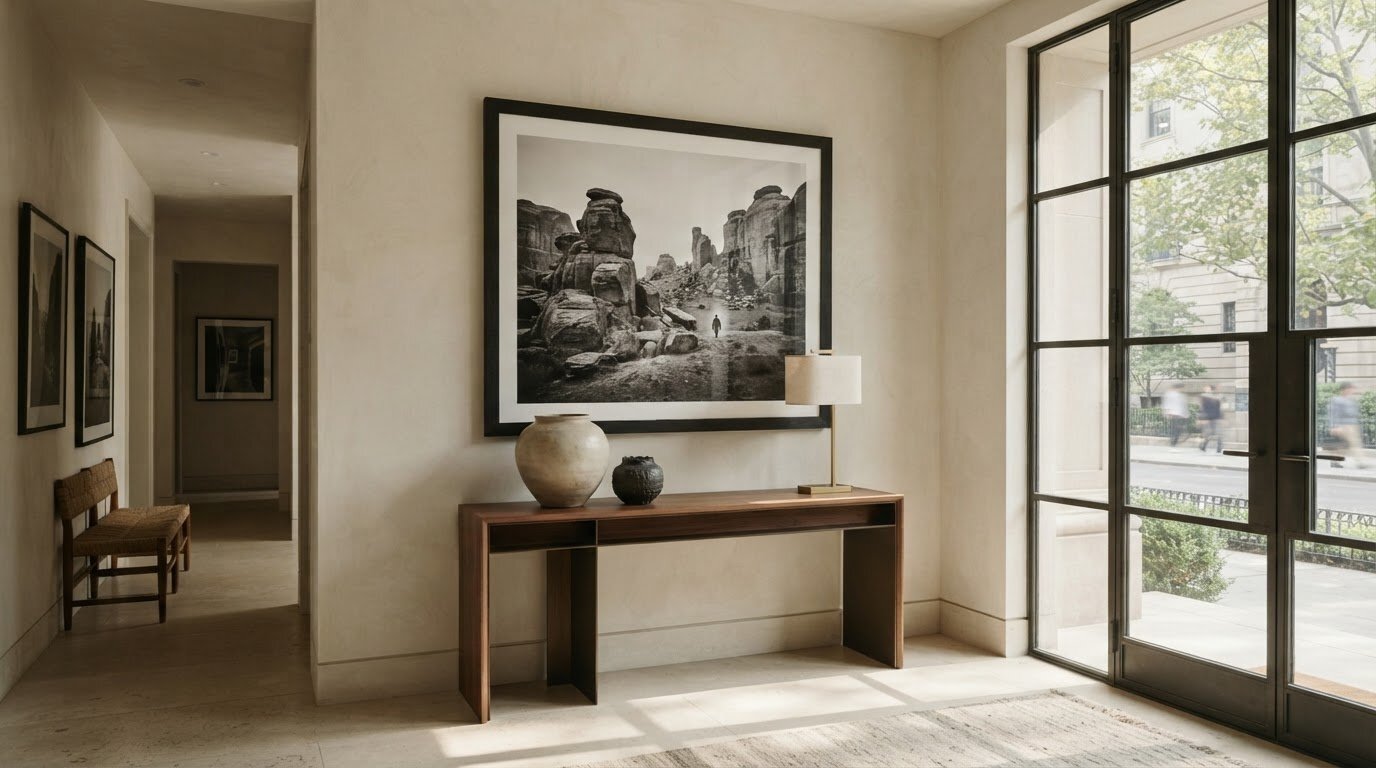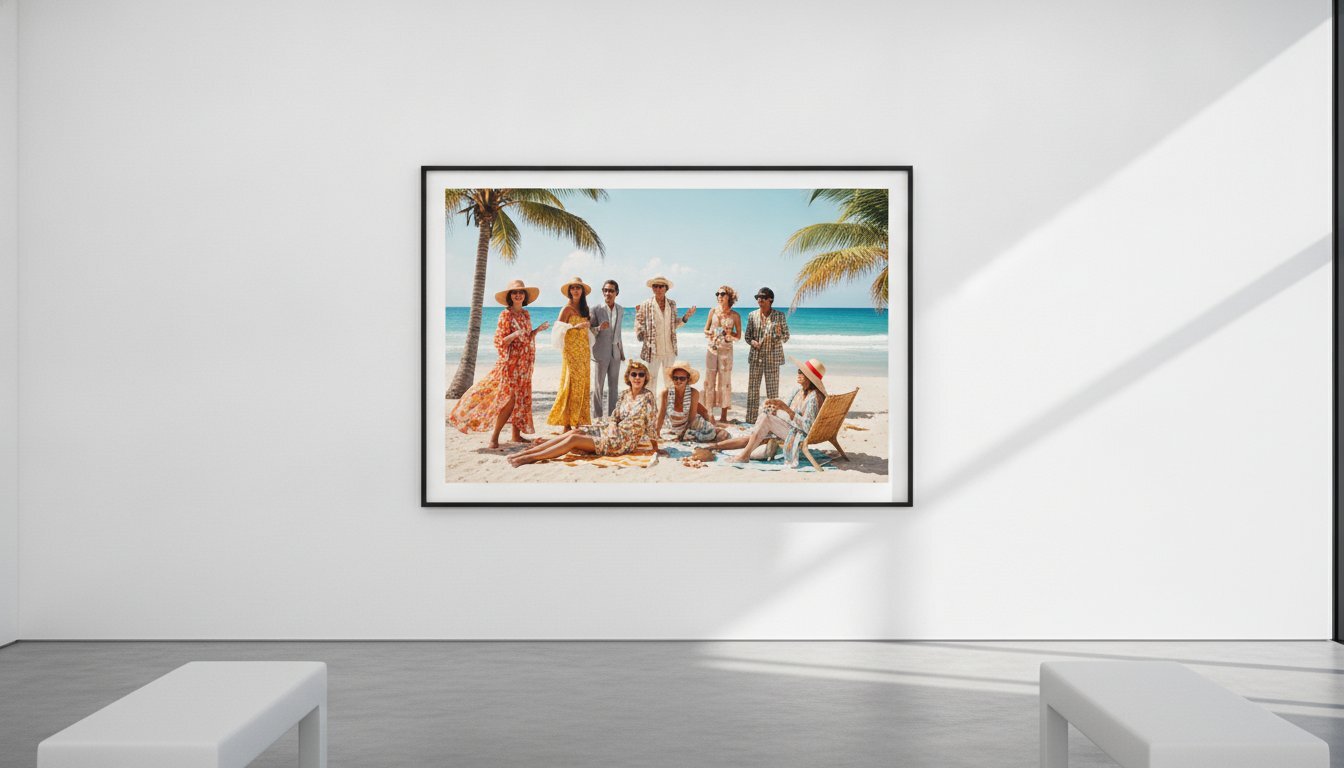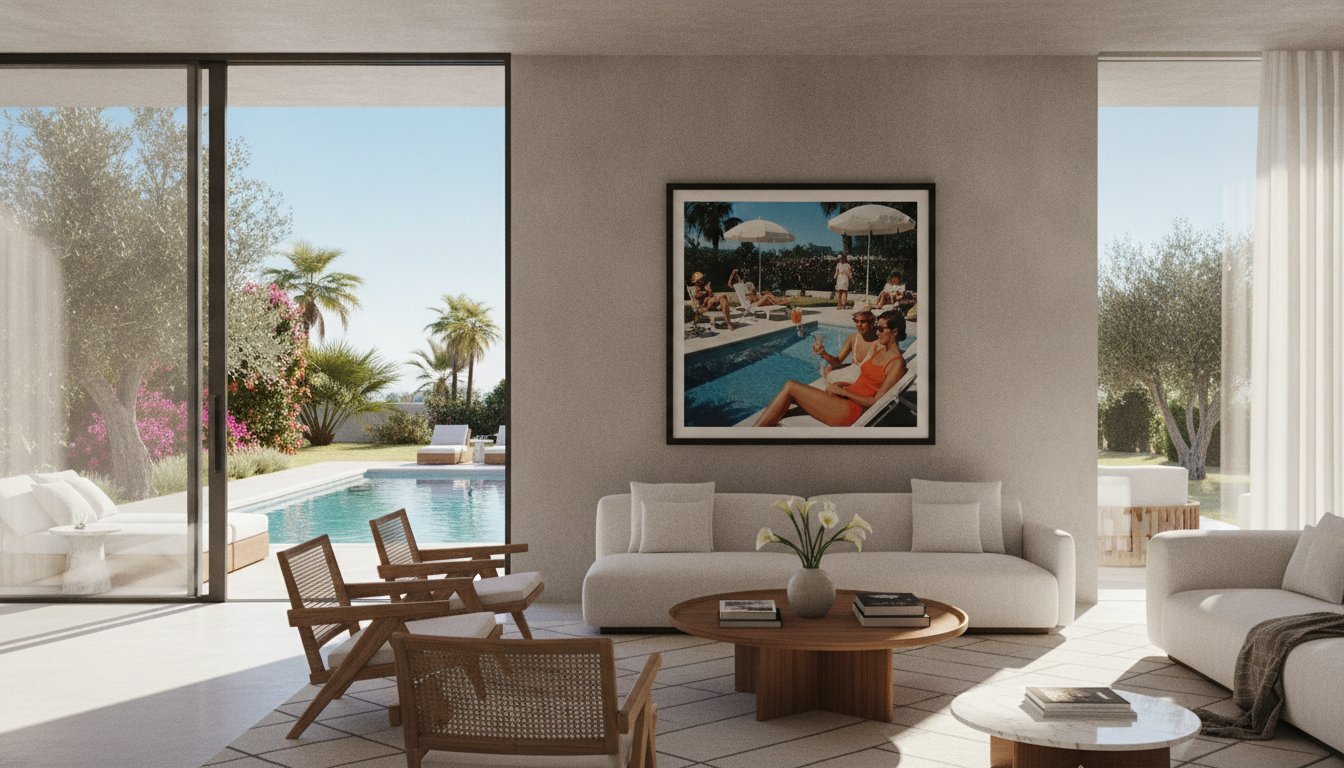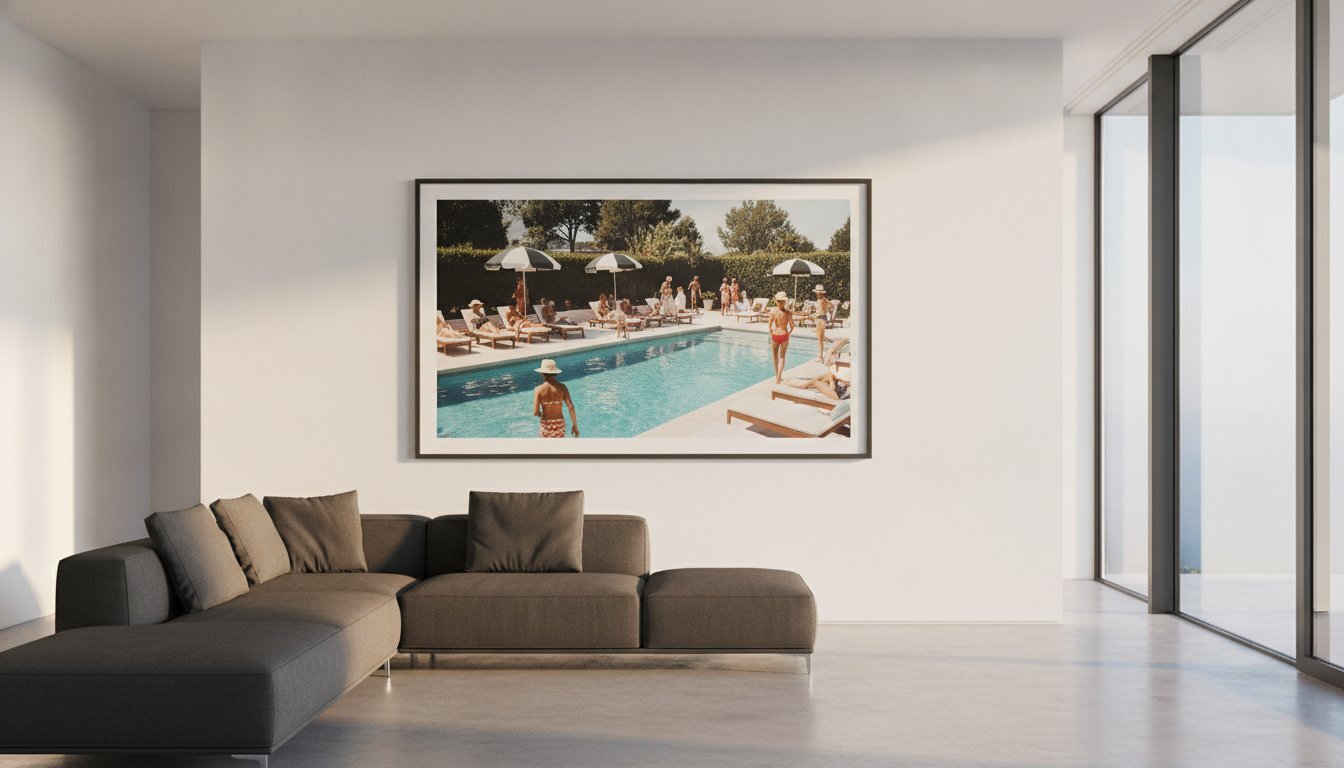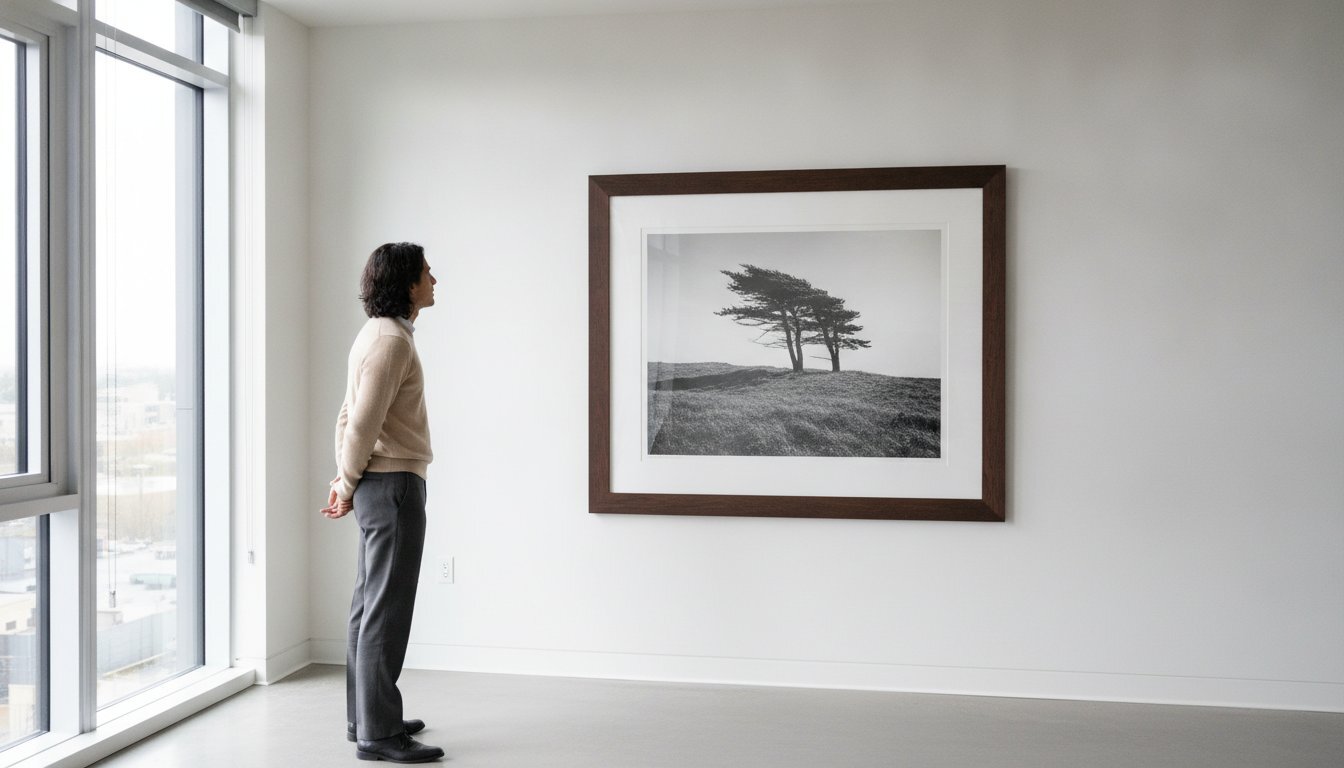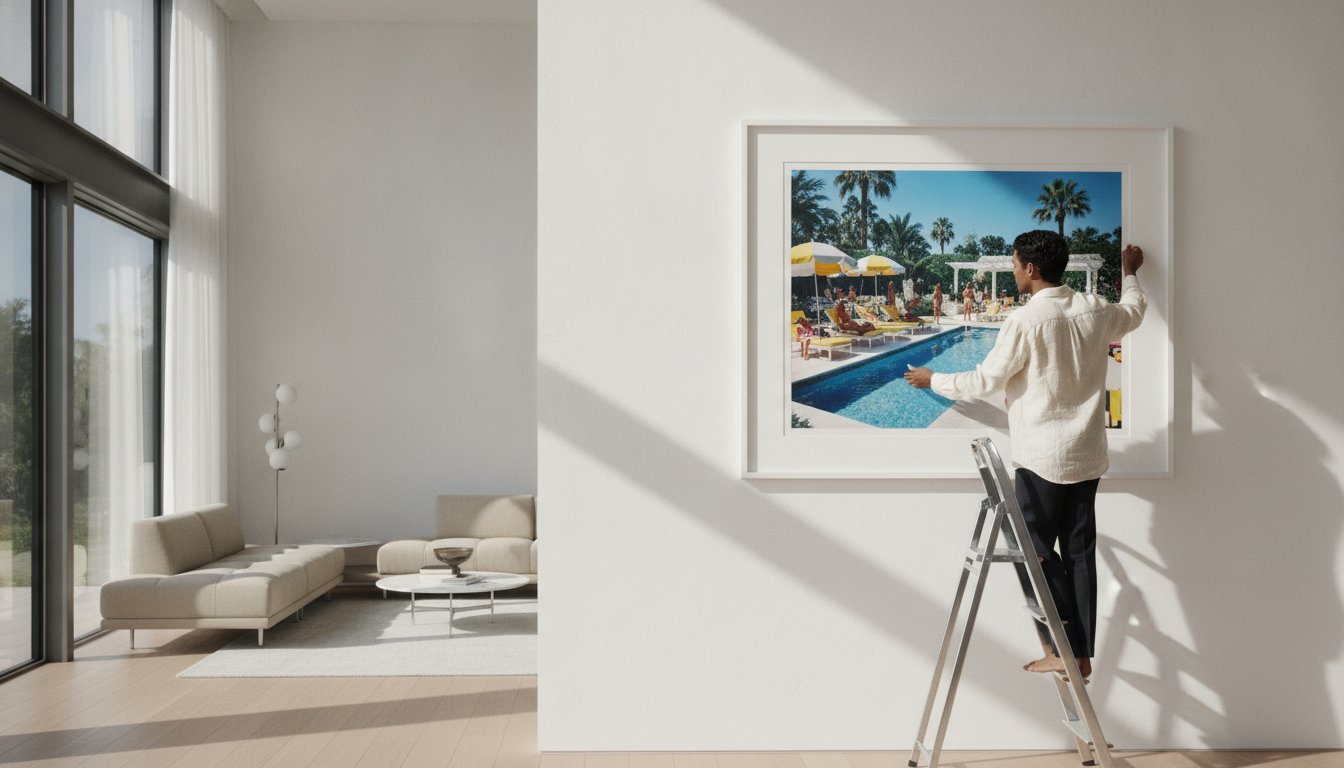
The artwork’s center, not its top edge, is the right place to begin. On an open wall, position the center 57 to 58 inches above the floor, using 57 inches as the familiar baseline. This art placement and height guide shows how to adapt that starting point to furniture, a gallery wall, and the way a room is used.
It’s easy to focus on the frame’s upper edge or the height of the ceiling, yet a considered placement begins with the visual center of the work. Learn how to apply the 57-inch rule, align several pieces with balanced spacing, and calculate the precise hanger position from the artwork’s dimensions and wire. The result is a wall that feels composed rather than guessed at, allowing each photograph or print to settle naturally into the room.
Key Takeaways
- Above furniture, balance the artwork’s scale with the piece below and leave a considered gap beneath the frame.
- Plan a gallery wall as a unified composition, using consistent spacing and a clear alignment or anchor point.
- Find the hanger position by measuring from the frame’s top to its wire or hanging point, then adding that distance to the intended center mark.
- For rooms where people mainly view art while seated, adjust the placement to suit the room’s everyday perspective.
What is the 57 rule for hanging art?
The 57-inch rule is a starting point for placing art, not a fixed height for every wall. Above furniture, the furniture’s top edge and the artwork’s scale help determine the final position.
-
Assess placement above furniture
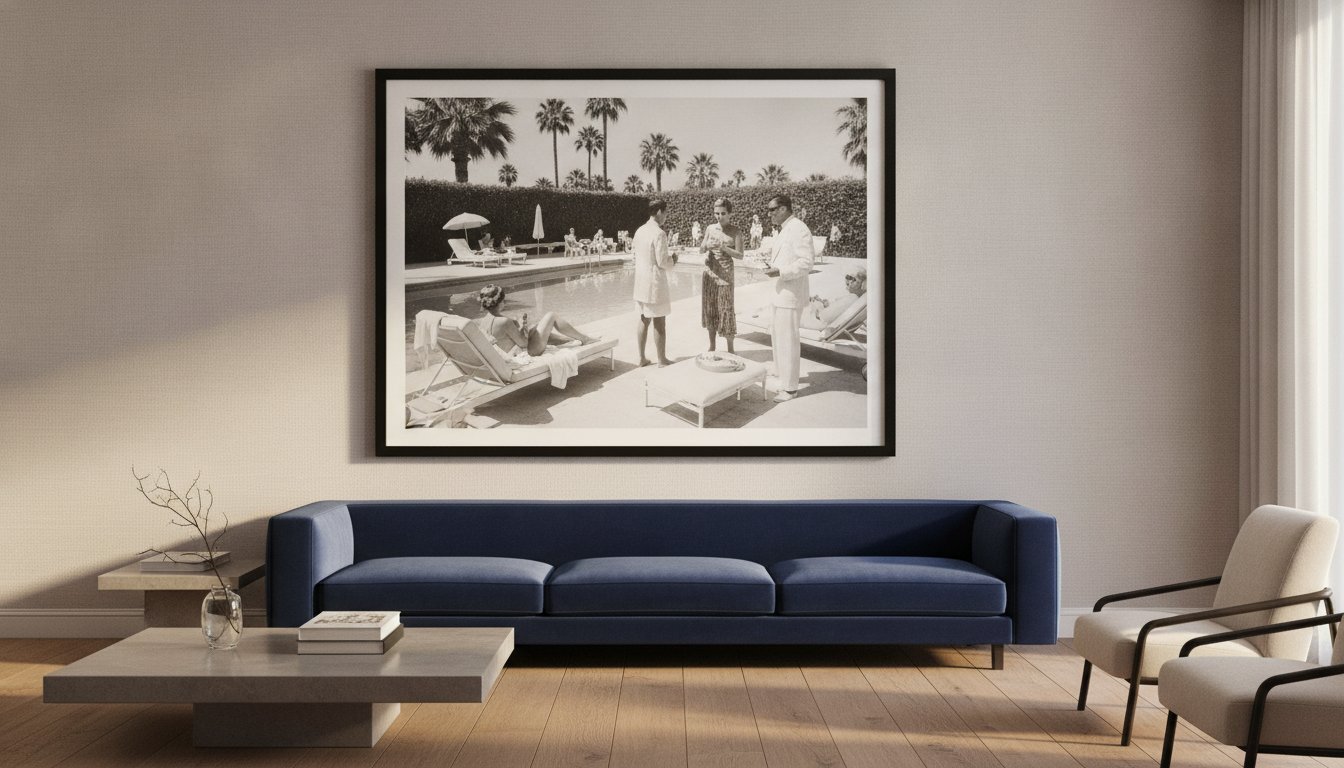
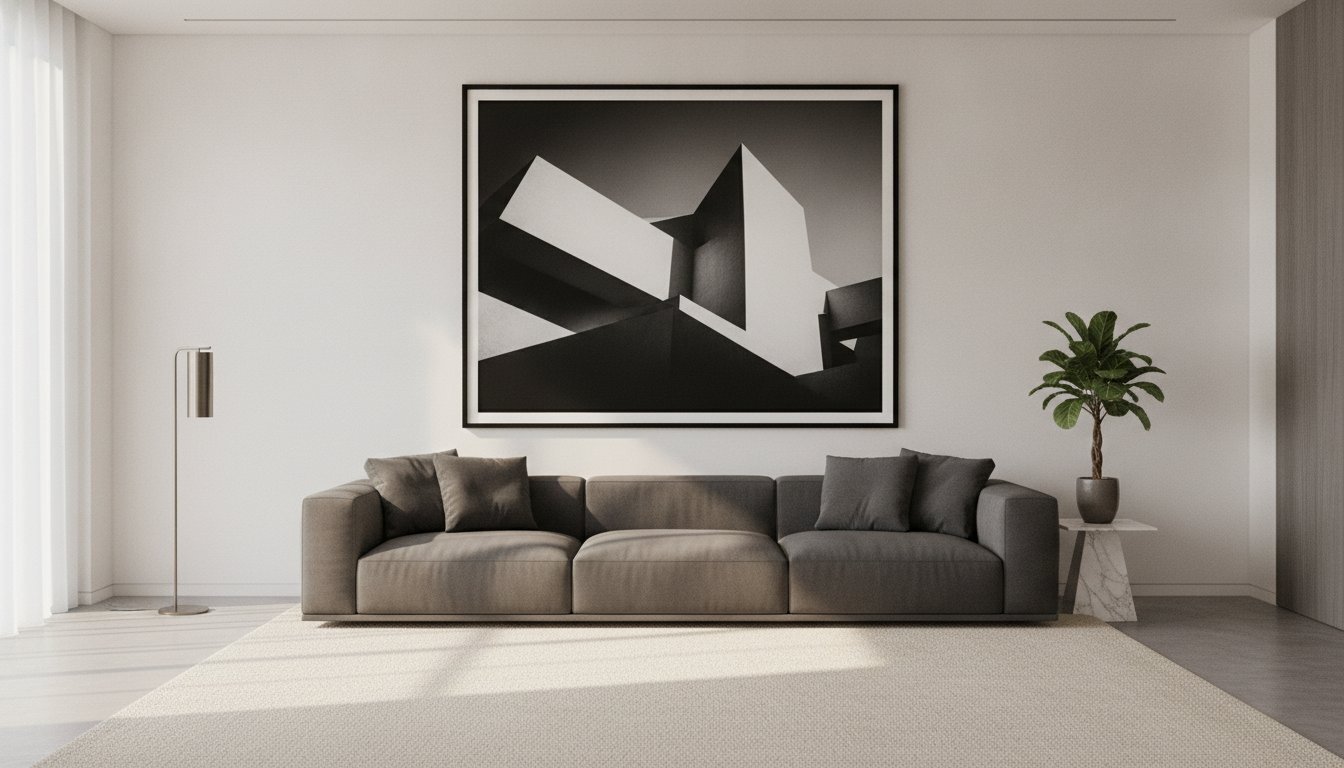
Measure from the top of the sofa, console, or mantle, then place the artwork’s bottom edge about 6 to 8 inches above it. This gap keeps the frame visually connected to the furniture without crowding the surface. Before hanging art, mark the proposed position and assess it from across the room. For safer placement, keep frames securely mounted and clear of areas where people might bump them.
-
Set height above sofas, beds, and consoles
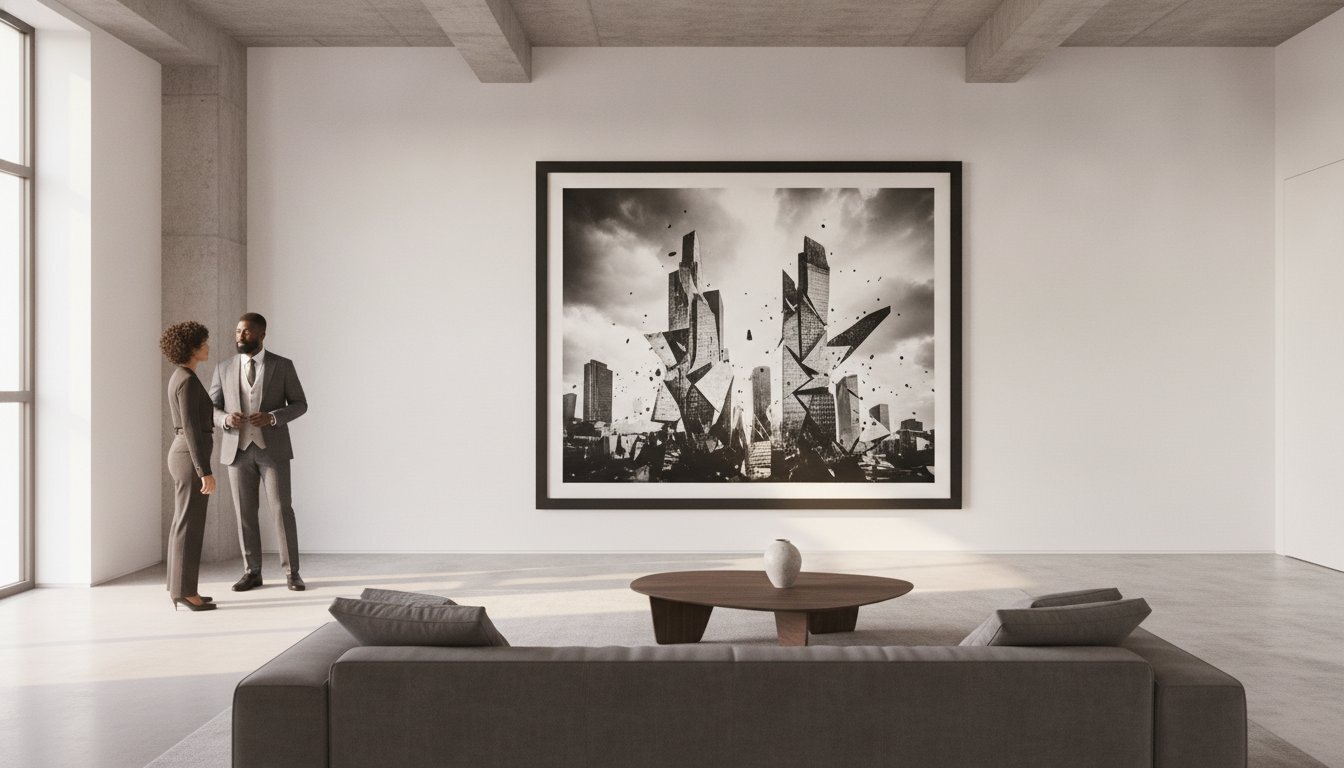
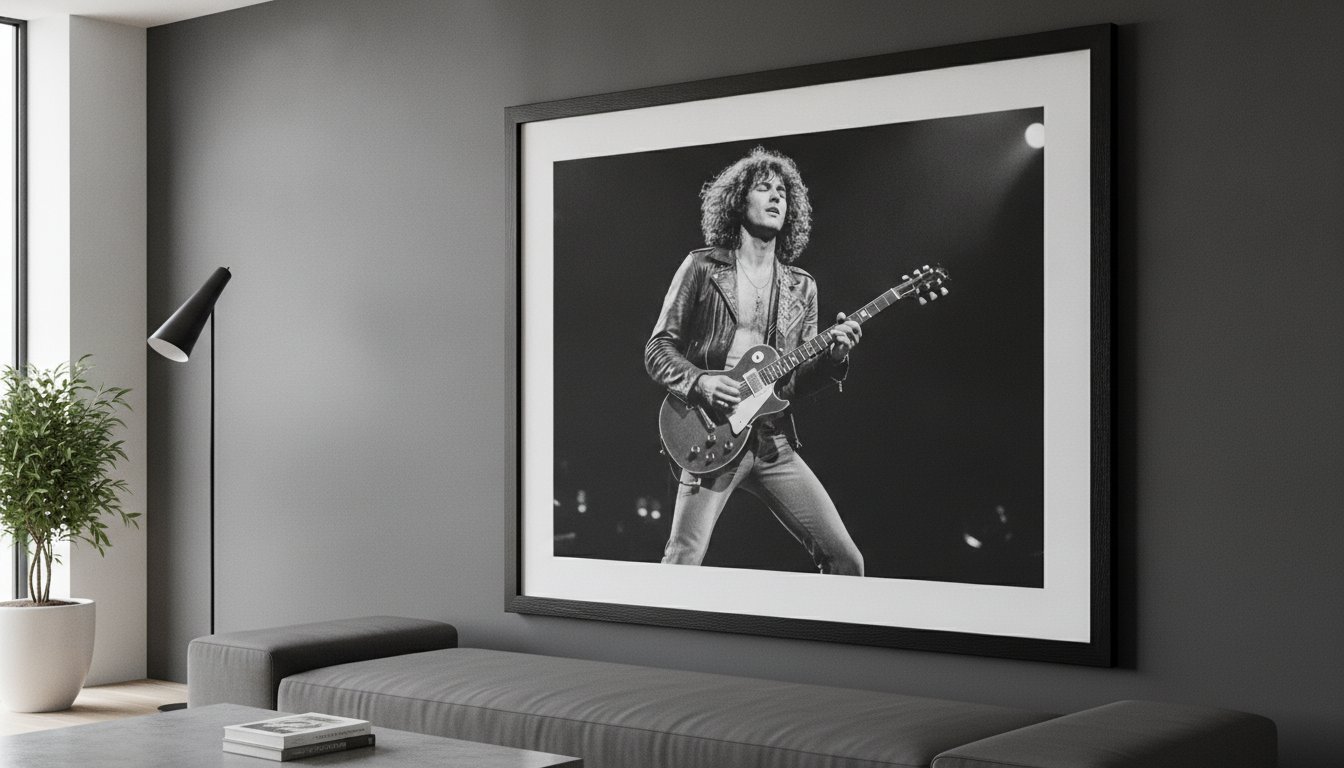
Position art above a sofa, bed, or console with its bottom edge about 6 to 12 inches above the furniture. Choose a width that gives the arrangement presence: artwork above furniture should fill about one-half to two-thirds of the furniture’s width. For a single large piece, compare its frame with the furniture’s full span. Heavy artwork needs a secure hanging method suited to its weight and wall.
-
Adapt placement to ceilings and staircases
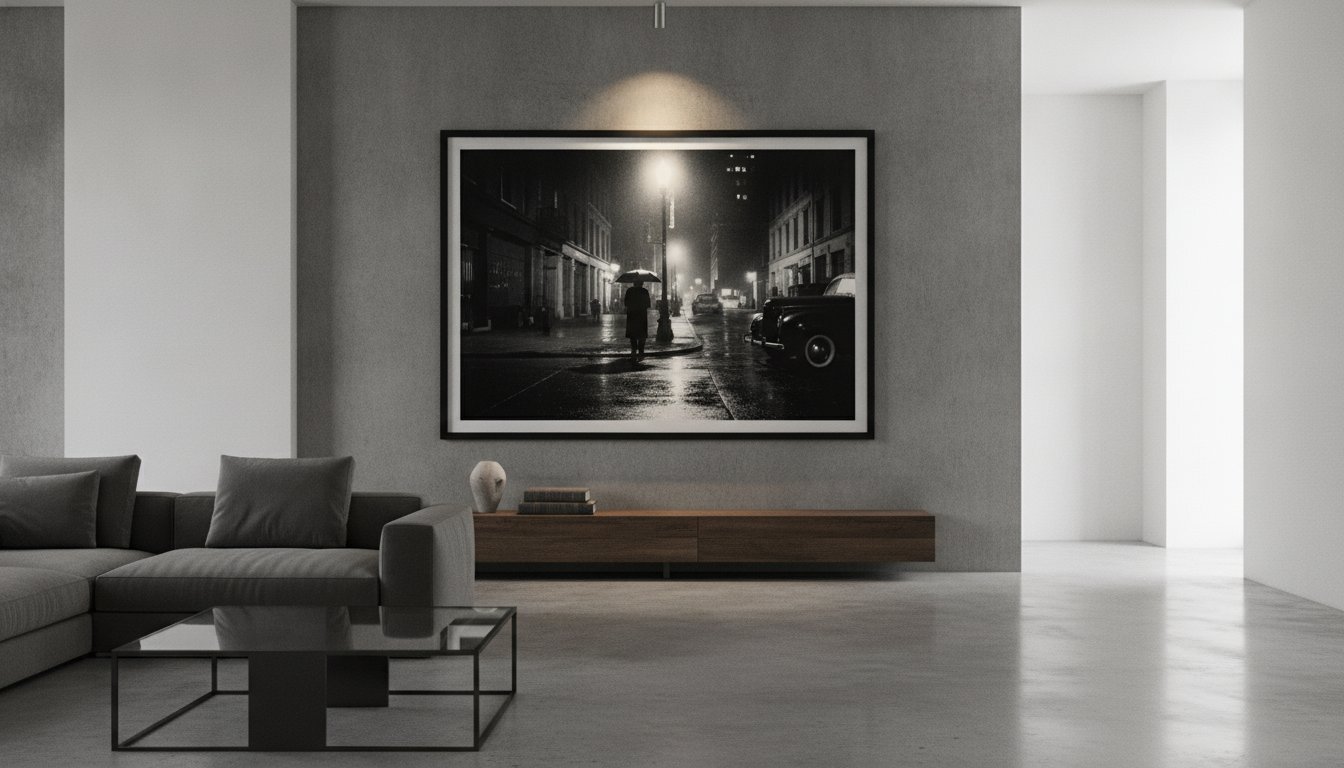
Keep the artwork’s centre near the usual viewing height, even in a room with a high ceiling; the ceiling height alone is no reason to raise the frame. Above a staircase, arrange a sequence to follow the wall’s rising line, then view it from the steps and landing. Check that the frames align with the stair angle and don’t intrude on the walking path.
-
Position art in hallways and entryways
Center a piece on the available wall space in a hallway or entryway, using the 57-inch center-height rule as a starting point. In a narrow passage, consider the sightline from the entrance and from the route through the hall. Keep artwork clear of doors and busy corners, and choose a scale that suits the wall rather than overwhelming the walkway.
Spacing and aligning multiple artworks
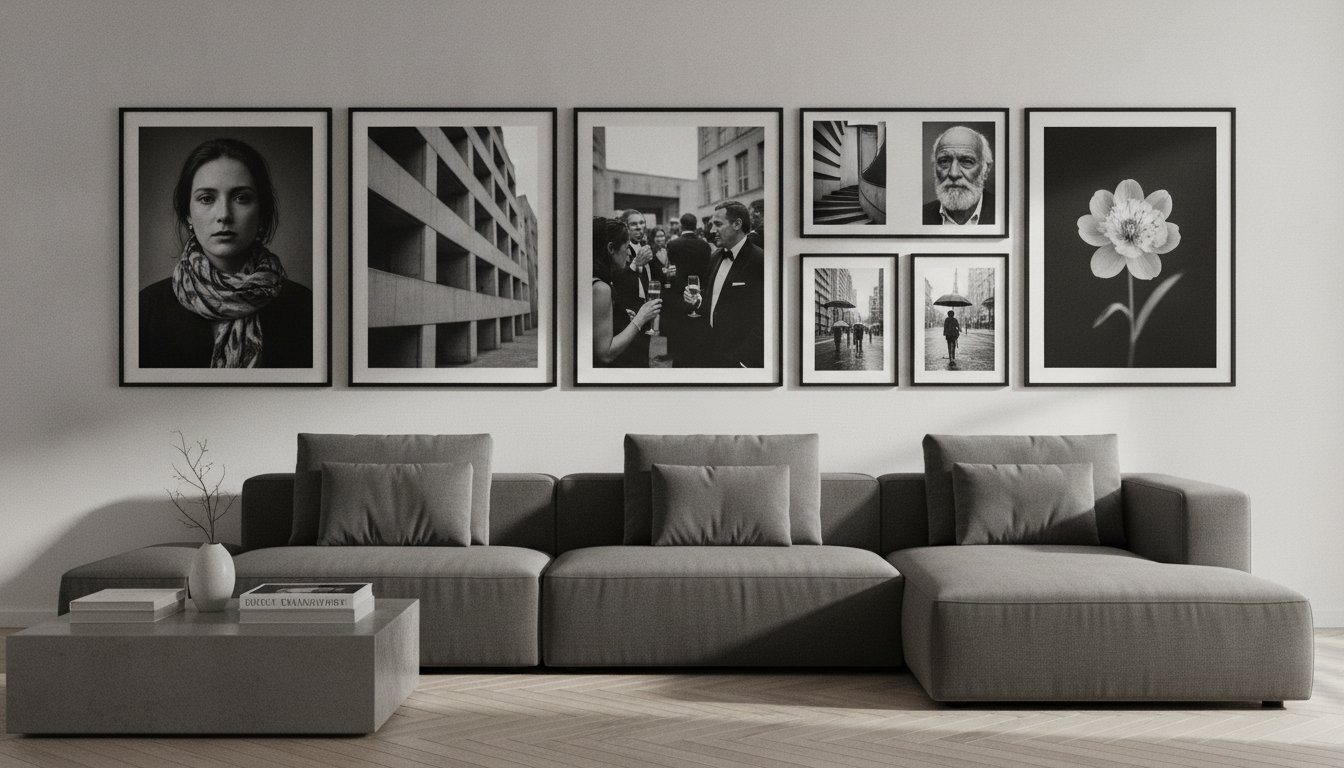
For a gallery wall, plan the full arrangement before marking individual hanger points. Framing and matting change each piece’s outer dimensions, so measure spacing and alignment from the finished frame edges.
-
Align framed artwork
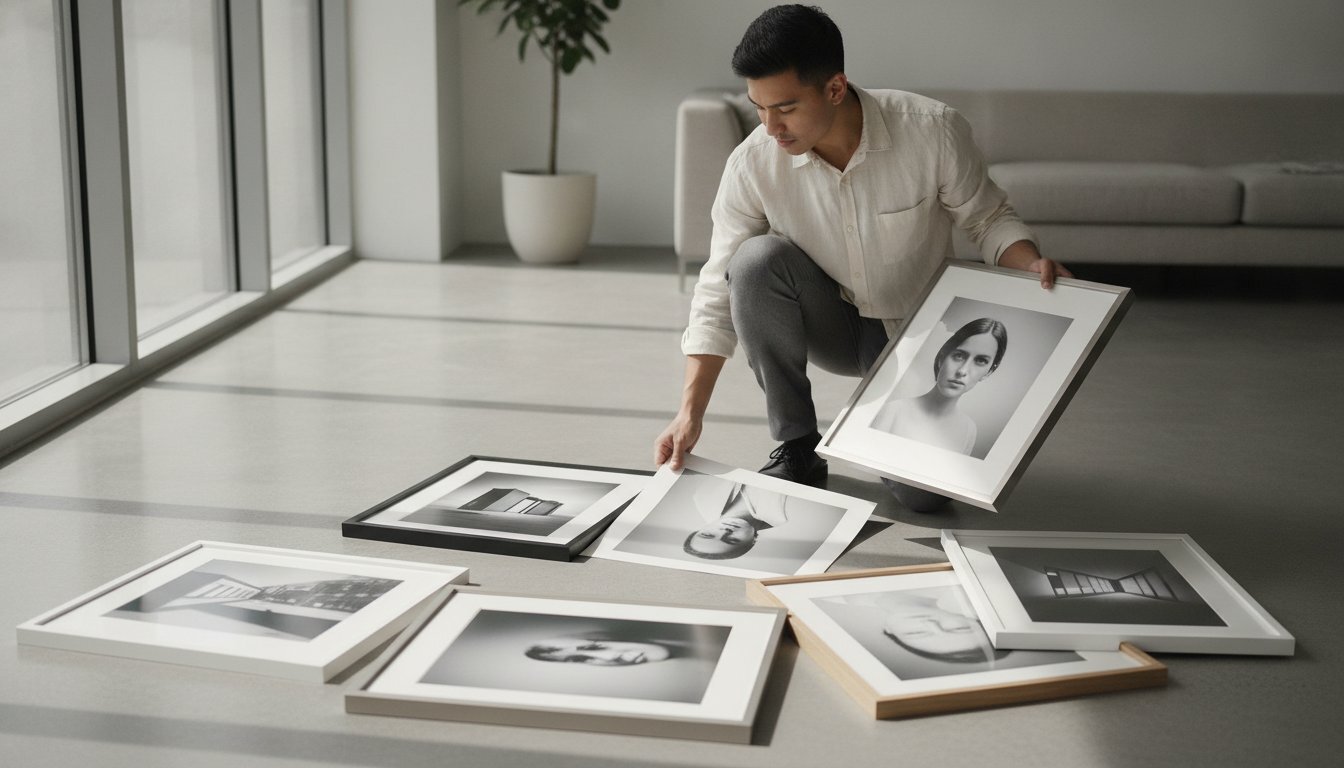
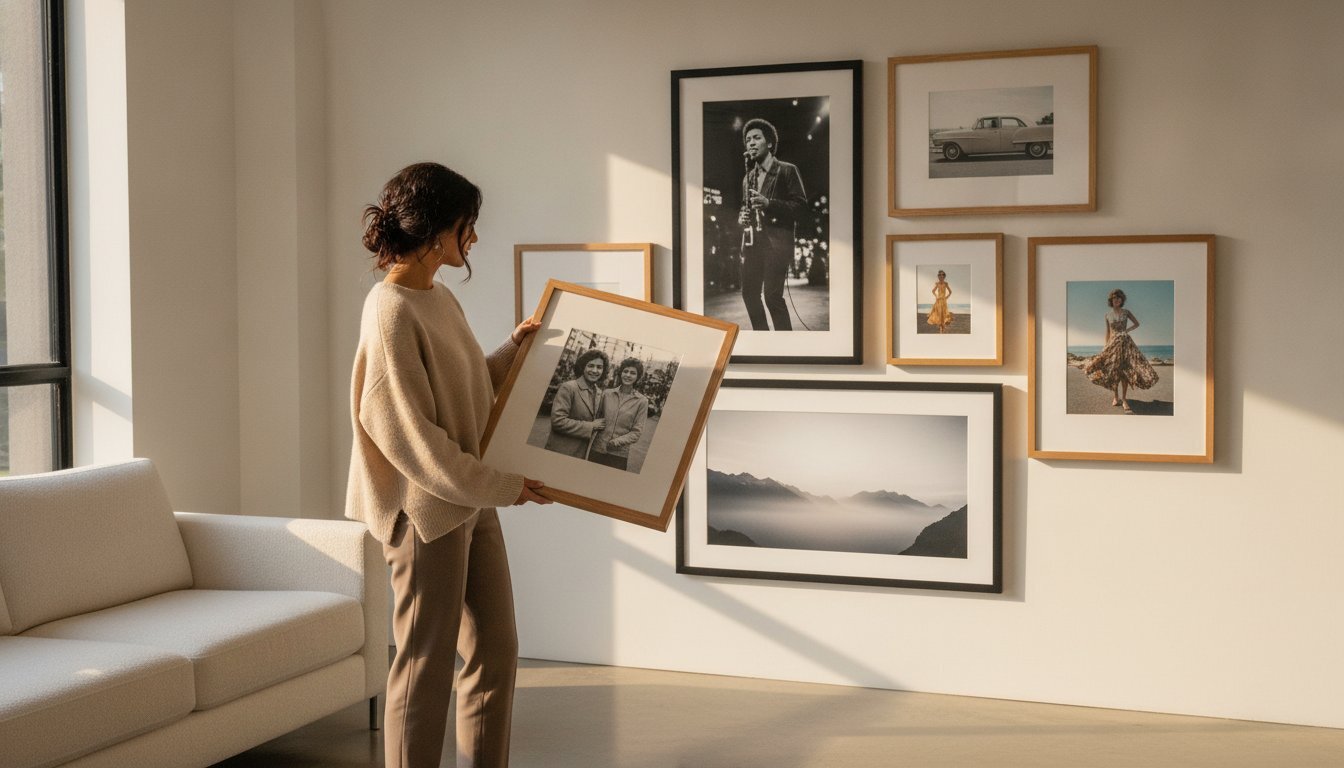
Lay the framed pieces out on the floor, then choose a shared alignment: top edges, centre lines, or a clean grid. For a grid, keep frame edges straight and repeat the same gap across each row and column. Check the outer frame dimensions, not just the visible image, so different mats or mouldings don’t make aligned artwork look uneven.
-
Space pieces in a grouping
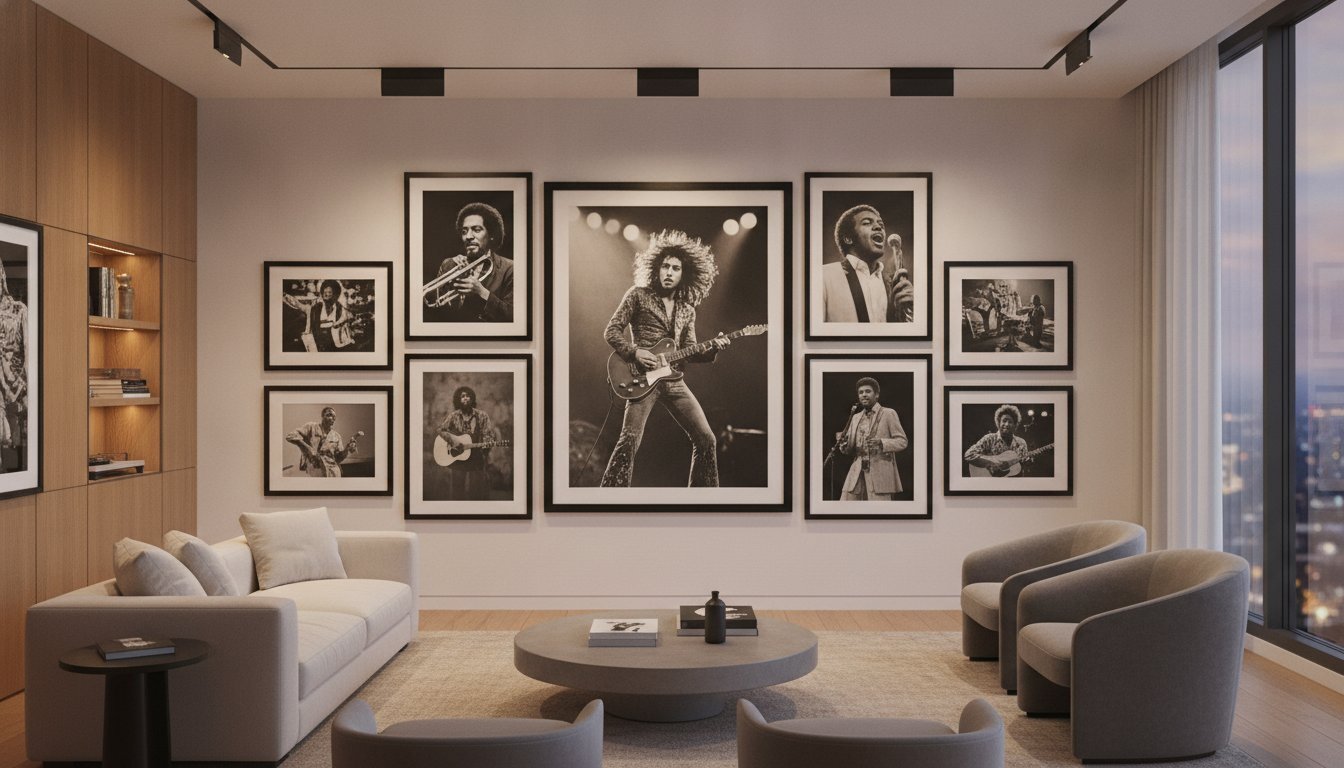
Set frames about 2-3 inches apart for a close, cohesive gallery wall. If the works need more visual breathing room, use gaps of 3-6 inches, keeping the spacing consistent across the grouping. Place the pieces on the floor first, then adjust the arrangement until it reads as one composition rather than separate works scattered across the wall.
-
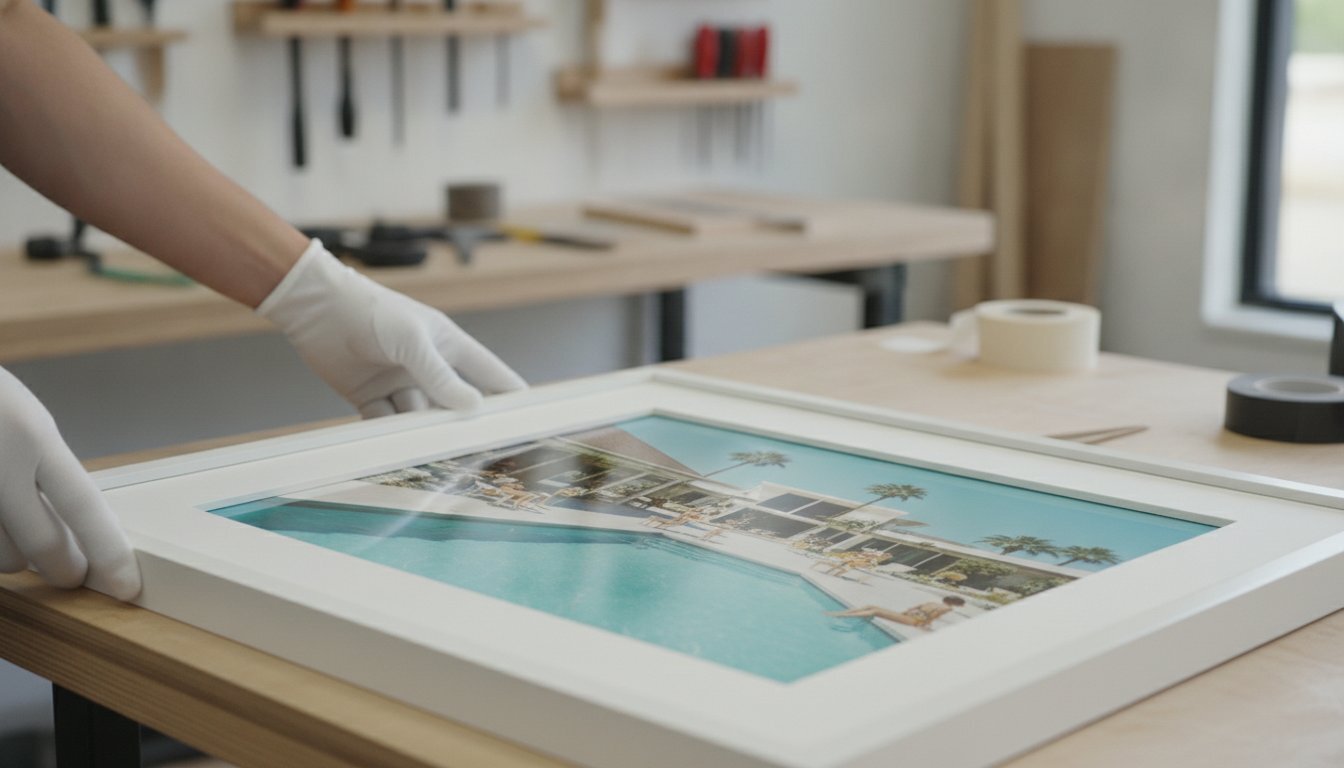
Account for framing and matting
Measure each finished frame, including its mat, before deciding where its centre or edge should sit. A wider mat increases the overall dimensions and can change a piece’s visual weight, even though the image itself stays the same. Use the outside dimensions to set the spacing, then assess how the visible artwork sits within each frame.
For a mixed collection, choose one anchor piece and arrange the remaining frames around it. Keep their gaps deliberate, and compare the outer edges from a few steps back; a small shift can make a grouping feel unbalanced. If framing decisions affect your layout, Galerie Prints’ Bespoke Framing Service offers a considered next step for bringing the pieces into a coherent arrangement.
Calculating hanger placement from the artwork’s center
Mark the artwork’s centre height first, then calculate the hook position from the frame’s hanging hardware. This keeps the centre line accurate, even when the wire sits well below the top of the frame.
-
Find the recommended artwork center height
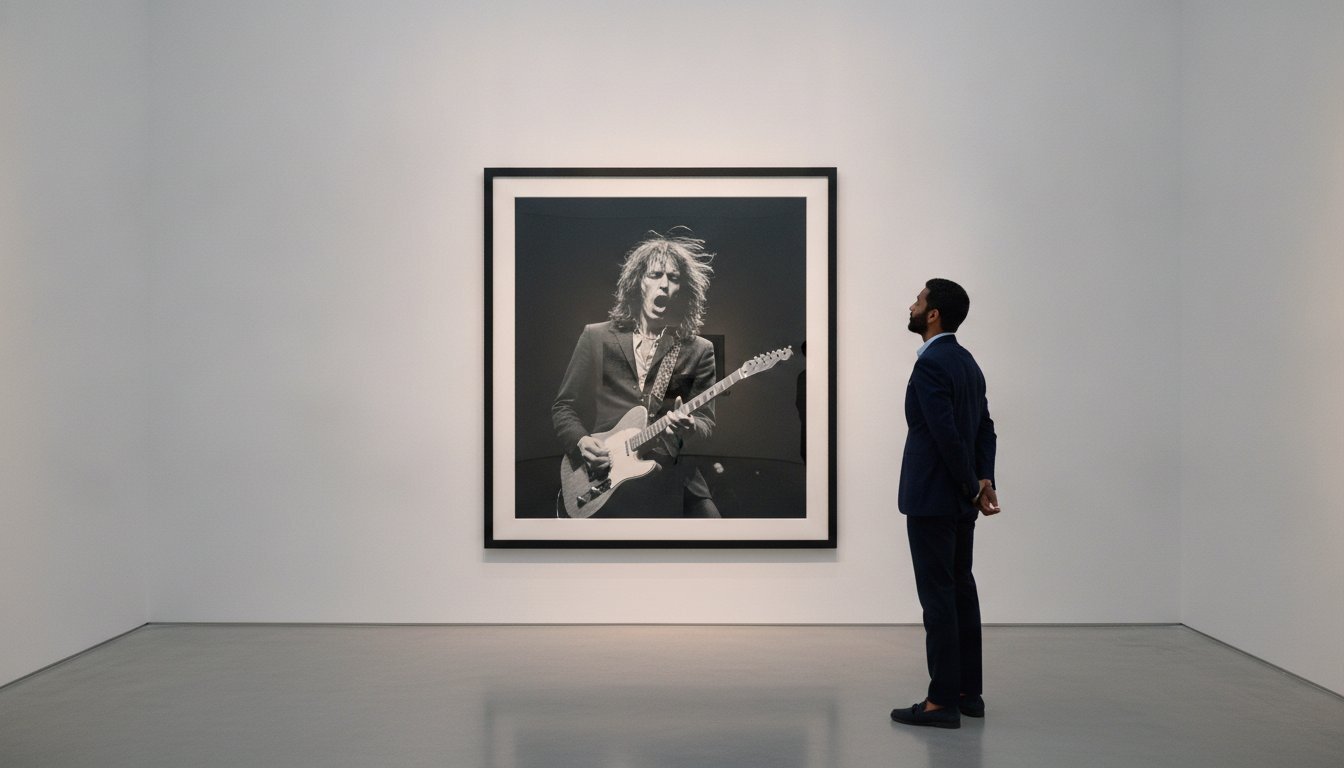
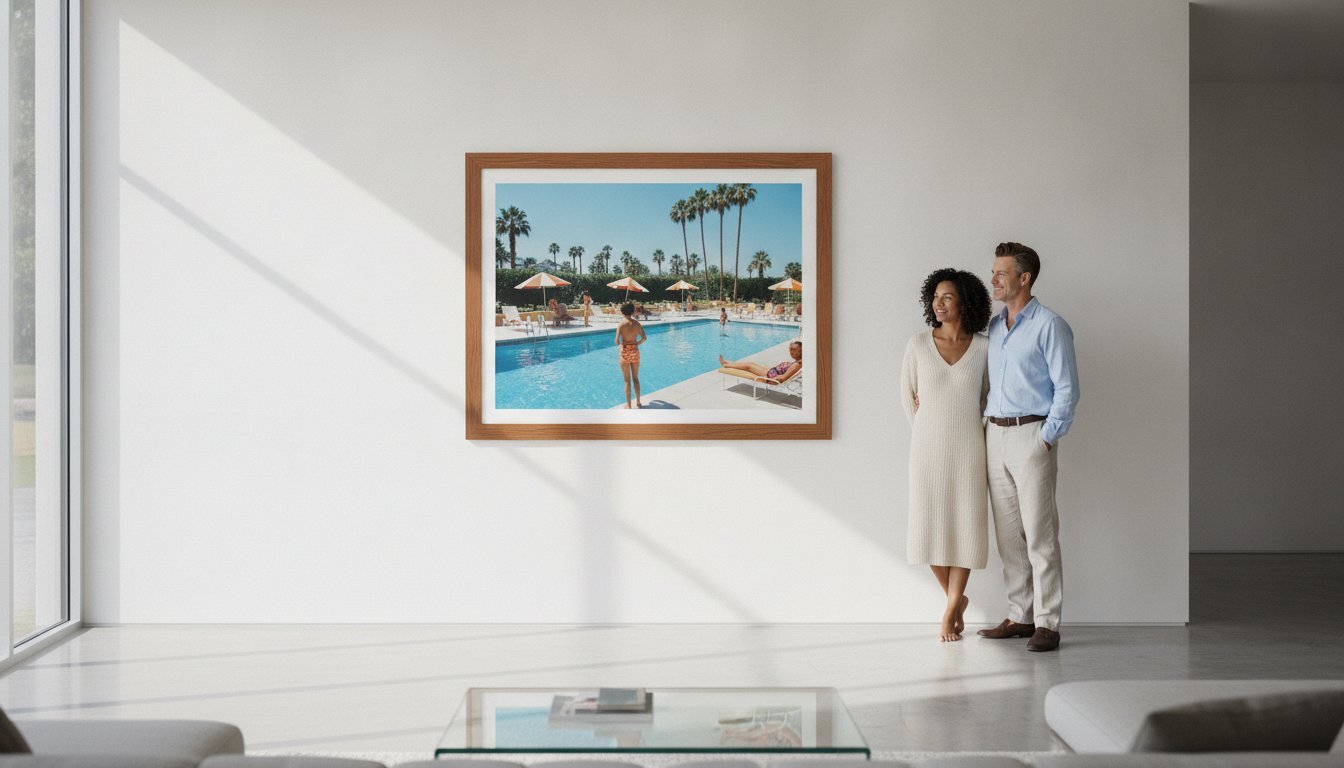
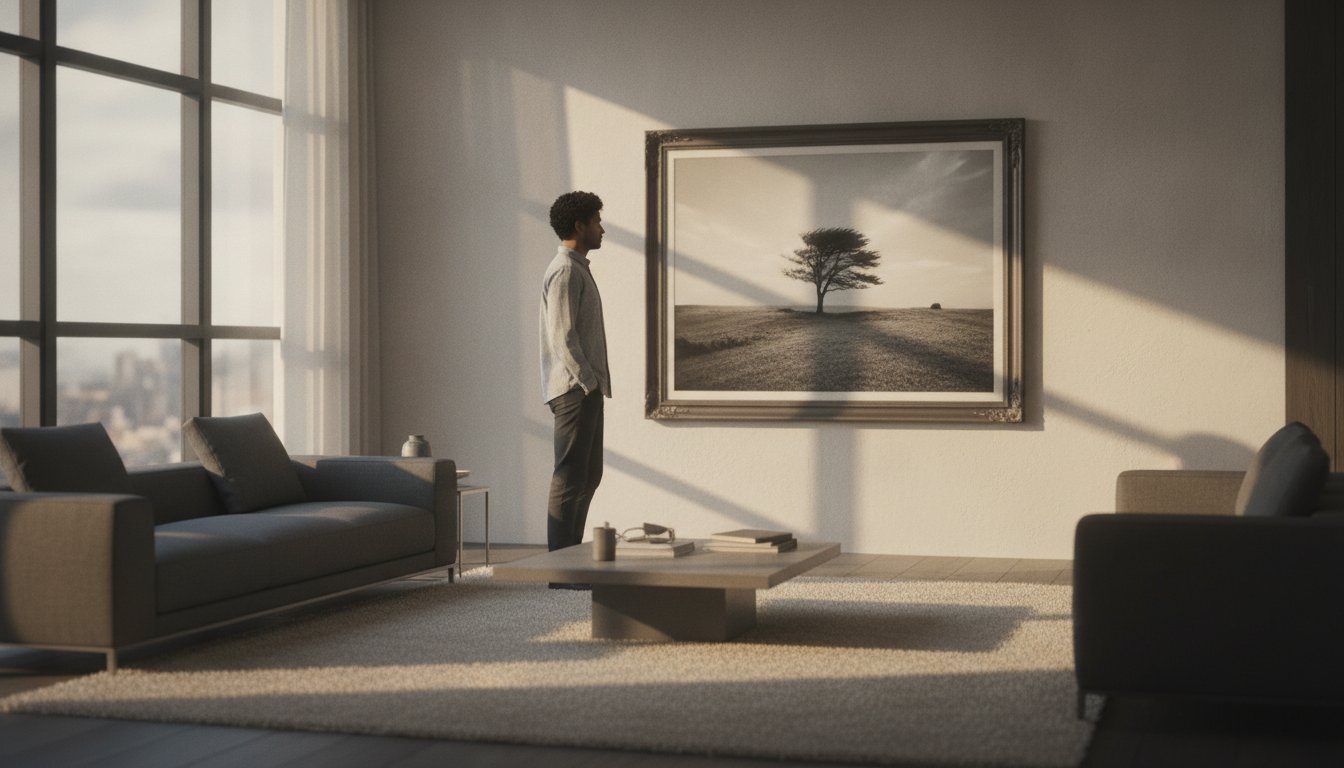
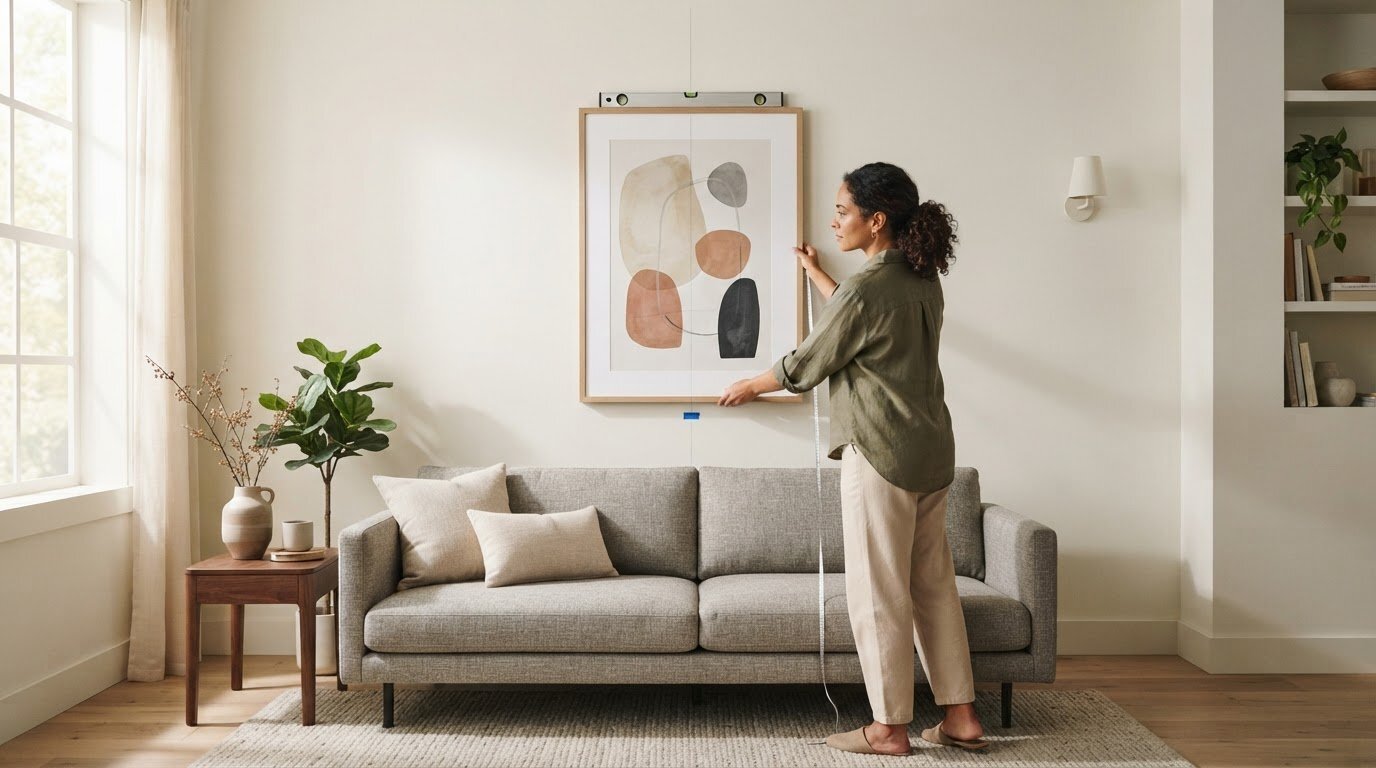
Mark the wall at 57 to 58 inches from the floor for the center of artwork on an open wall. This measurement refers to the artwork’s midpoint, not the nail or hook. If people regularly view the piece while seated, lower the center until it feels comfortable from the main seat, rather than relying on a standing sightline.
-
Avoid hanging artwork too high
Measure the frame before placing a hanger, and don’t use its top edge as the height reference. A frame can look too high when its centre sits well above the intended viewing line, even if its top edge seems aligned with nearby decor. In a room with high ceilings, keep the same centre-height baseline rather than raising the artwork to fill the wall.
-
Position vertical artwork
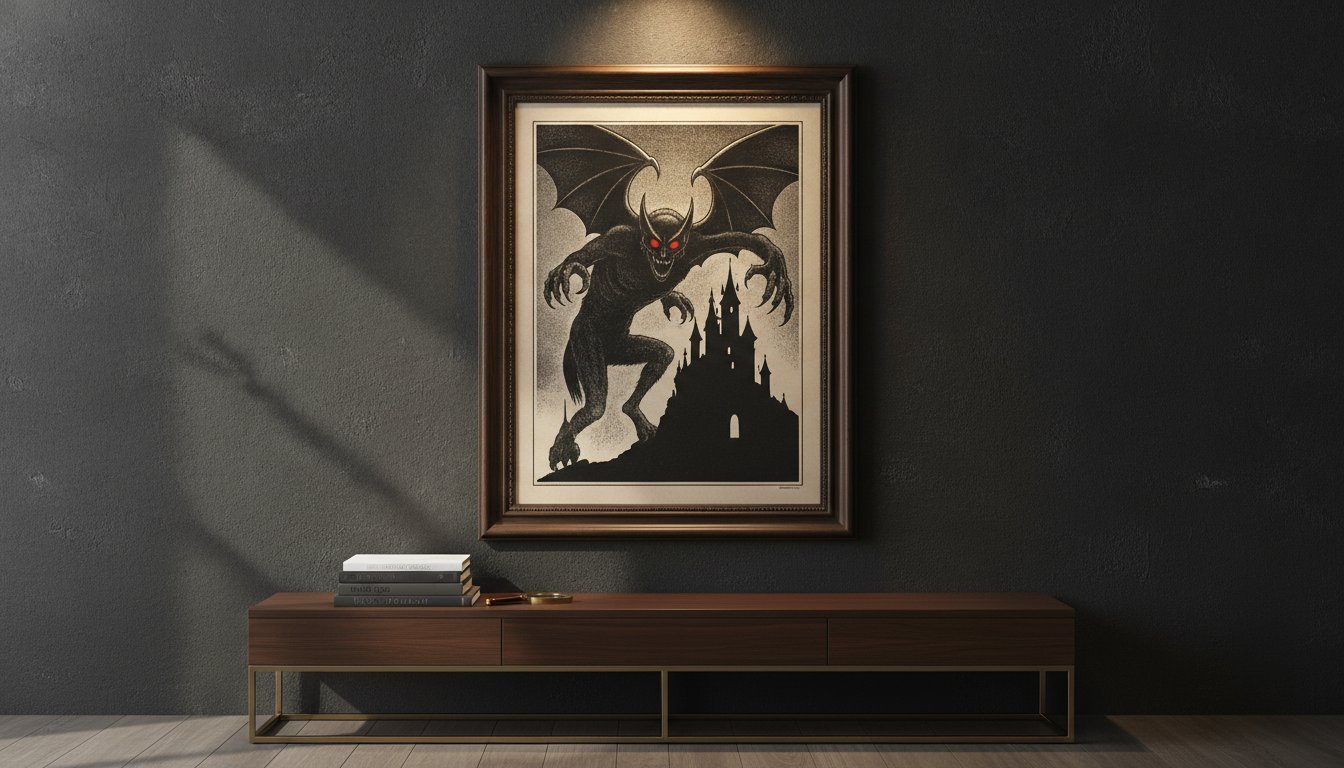
Measure the full height of a vertical frame, then divide that measurement in half to find its center. For a 34-inch-tall framed work, the center is 17 inches from either edge. Align that midpoint with the chosen wall mark; the artwork’s portrait orientation doesn’t change how its center is calculated. Check the sightline from the room’s main viewing position.
- Measure from the frame’s top to its wire’s highest hanging point while the wire is gently pulled taut. For the 34-inch example, a wire 10 inches below the top places the hook 7 inches above the 57-inch center mark, at 64 inches from the floor. Mark that hook point, then assess lighting from the intended viewing position; shift the artwork slightly if a light source creates distracting glare.
The 57- to 58-inch center-height baseline
Use the artwork’s centre as the reference point on an open wall, rather than measuring to its top edge. This baseline creates a consistent visual line for positioning a single piece or planning a gallery arrangement.
- Measure 57 to 58 inches up from the floor and mark the wall. That mark represents the center of the artwork, not its hanger. The 57-inch point is a useful starting baseline; the 57- to 58-inch range gives a little room to judge how the piece sits in its particular setting.
- Centre one artwork on the mark by measuring its full framed height and finding the midpoint. A tall, narrow piece still uses its vertical centre, while a wide piece uses its horizontal midpoint. Base the measurement on the framed work’s outer dimensions so the visible composition sits where you intend.
- For a gallery wall, treat the arrangement as one large artwork. Find the overall grouping’s top and bottom edges, then mark its midpoint at about 57 inches above the floor. This keeps the collection aligned as a whole, even when individual frames differ in shape or size.
- Keep the baseline even in rooms with high ceilings; don’t raise a piece simply to fill more wall space. If the room is mainly used while seated, adjust the artwork lower until it feels comfortable from the primary seat. A modest shift of 2 to 3 inches can suit the room’s daily use while preserving the composition.
- Before making a hole, mark the centerline and step back to view the work from the room’s main approach. If you’re planning a wall around Star Wars Limited Edition Prints, use the same center-height principle to give the chosen print a considered place within the room.
Galerie Prints: The Slim Aarons Collection
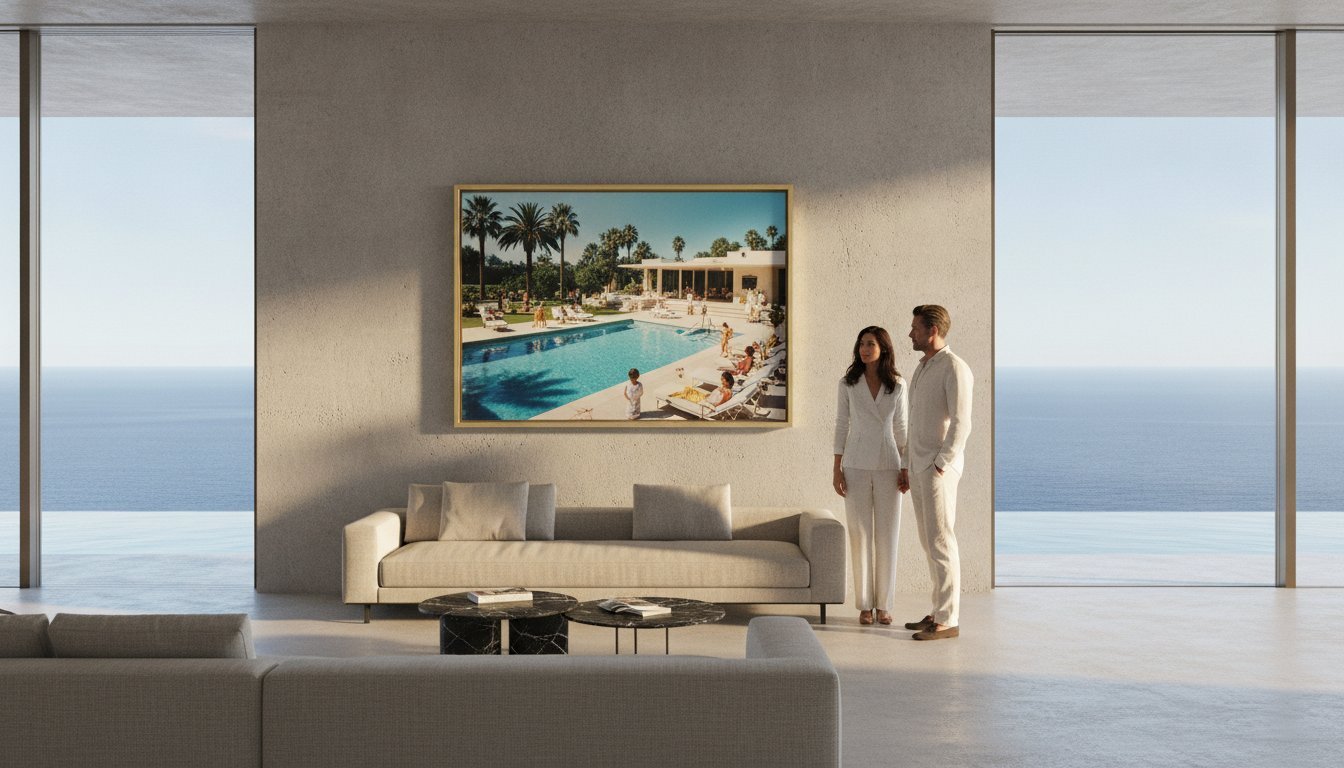
Galerie Prints brings photographic heritage into the home through The Slim Aarons Collection, a considered starting point for choosing work that suits your room and its intended placement. Once you’ve measured the wall and established its centre line, explore imagery that could become the focus of a living space, hallway, or carefully arranged gallery wall.
For a different visual character, browse Terry O’Neill Photography, Cinema Lobby Cards, or Star Wars Limited Edition Prints. Compare each work’s proportions with the available wall space and nearby furniture, then use the placement principles above to plan where it will hang. This lets you consider the image and its setting together, from the initial choice through to the final alignment.
Contact Galerie Prints to explore its collections.
Let the Artwork Shape What Comes Next
A carefully placed image can do more than complete a room. It can establish a mood, draw the eye to a considered detail, and offer a fresh perspective each time you pass. Use this art placement and height guide as a starting point, then let the character of your chosen work shape the space around it.
Galerie Prints offers The Slim Aarons Collection, Terry O’Neill Photography, and Cinema Lobby Cards, each bringing its own visual history and atmosphere to a room. Explore the imagery that feels right for your setting, and consider how its presence might shape the room’s character over time.
Contact Galerie Prints for art advice as you consider the next piece for your walls. A thoughtful choice can make the room feel distinctly your own.
Frequently Asked Questions
How high should art be hung?
On an open wall, start with the artwork’s center about 57 to 58 inches above the floor. Then judge the placement from the room’s usual viewing position, rather than relying only on a measurement. If the piece sits above furniture, the relationship between its lower edge and the furniture may guide the final position more than the open-wall baseline.
What is the standard height to hang art on a wall?
A common standard places the artwork’s center 57 inches above the floor. Measure to the center of the complete framed piece, not its upper edge or hanging hardware. In a gallery arrangement, use the center of the whole grouping as the reference. That keeps the composition coherent even if individual frames have different proportions.
How do you choose the right art size for a wall or furniture?
Above furniture, choose artwork or a grouping that spans roughly one-half to two-thirds of the furniture’s width. On an open wall, consider the surrounding space and the visual weight of nearby furnishings. For example, a narrow vertical frame may suit a slim console, while a wider arrangement can balance a longer sofa.
How much space should be between multiple pieces in a gallery wall?
For a close, unified gallery wall, leave about 2 to 3 inches between frames. A wider gap of 3 to 6 inches can give a grouping more visual separation. Choose one spacing and repeat it throughout the arrangement. Before hanging, check the gaps at frame corners and along rows, where small inconsistencies are easiest to notice.
How do you measure and mark art placement before hanging?
First, measure the framed artwork and mark its intended centre on the wall. Then measure from the top of the frame to the taut hanging wire or fitting to find the hanger position relative to that centre. For a group, lay out the pieces on the floor or use paper templates, and mark each hanger only once the full arrangement looks balanced.