
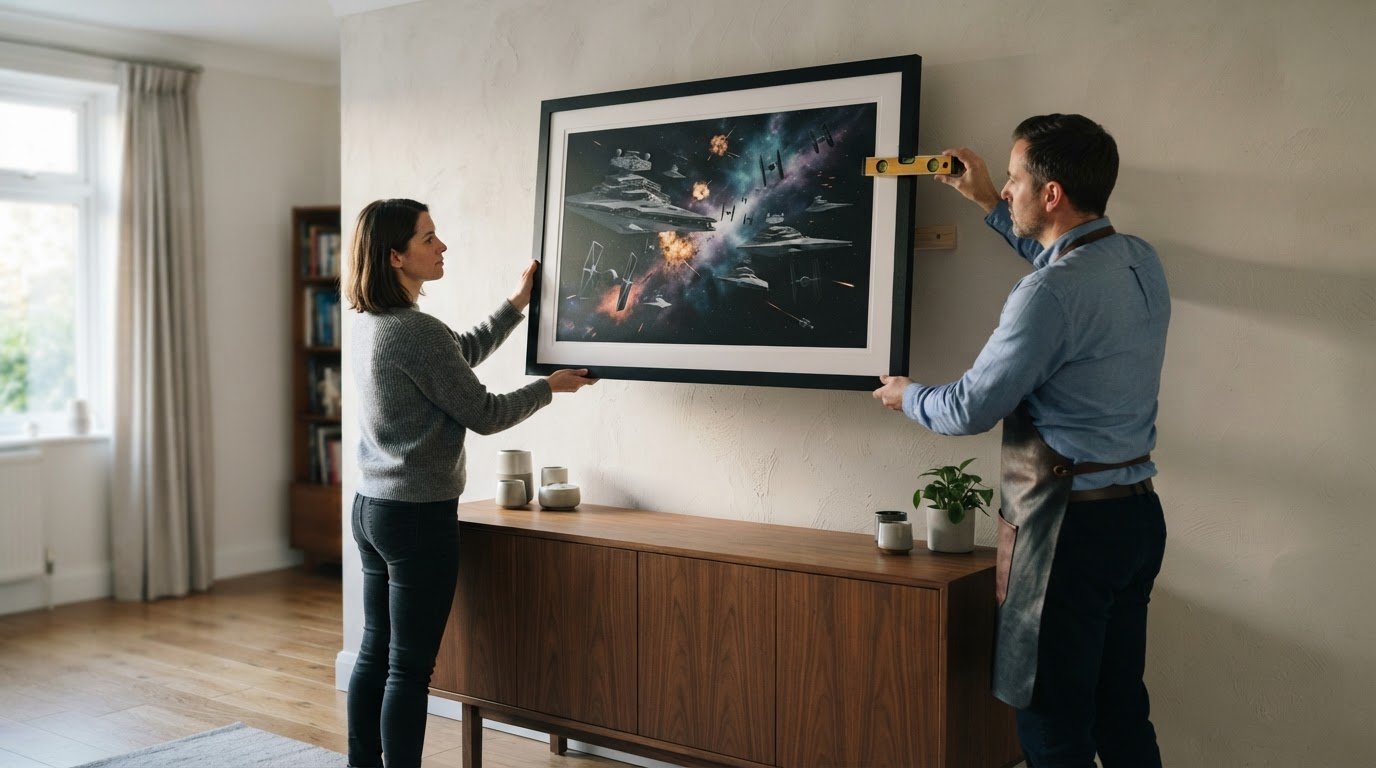
A large print should be centered over the furniture beneath it, rather than automatically centered on the wall. For a starting height, place the center of the artwork 48-56 inches above the floor; knowing how to hang large framed prints also means setting the frame level and choosing support suited to its weight. Above a bed or mantel, a generously scaled piece can anchor the room without feeling disconnected from the furnishings.
Getting the height right is only part of the job. A slight tilt or unsuitable hanging method can distract from the image and its frame. This guide explains how to position a large print, measure and check its level, and choose alternatives to picture wire, such as direct screw mounting or a French cleat. It also covers centering artwork over furniture, locating wall studs, and selecting a suitable hanging method for your room.
Key Takeaways
- Center a large print over the furniture beneath it to create a considered focal point, and use a wall stud for a more secure installation.
- Set the artwork’s center 48-56 inches above the floor as a starting point, then adjust the placement to suit the room and viewing position.
- Check for a level hang by comparing the frame’s lower corners with the floor or using a small round object on its top edge.
- Explore alternatives to picture wire, such as mounting the frame on two screws or using a French cleat.
Common Question: Should Large Wall Art Be Centered on a Wall or Centered Over Furniture?
Center a large print over the furniture beneath it when the artwork is intended to anchor the arrangement. Above a sofa, bed, or mantel, align it with the furniture’s center rather than the full wall. For a heavy framed picture, ask someone to help: one person can support the frame while the other marks and secures the hanging points.
- Mark the furniture’s center. Measure the width of the sofa, bed, or mantel, then mark its midpoint on the wall. Align the print’s center with that mark. If there’s no furniture below, use the wall’s center as your visual guide.
- Find a stud before positioning the bracket. Use a stud finder to locate the wooden framing behind drywall, then mark its center. Studs are typically spaced 16 inches from center to center, with about 14.5 inches of open space between them. For artwork weighing more than 20 pounds, art consultant Faye Urlacher recommends anchoring it into a stud. Attaching the bracket to a stud is the most secure approach.
- Choose suitable support for drywall. If the bracket cannot meet a stud, use a wall anchor suited to the frame and its weight. Wall anchors typically support smaller sizes of wall art, even when the bracket misses a stud. Drive screws into the anchor or stud, keeping the bracket straight and firmly seated against the wall.
- Plan a gallery wall as one composition. Arrange mixed print sizes and objects, such as fiber art or a small shelf, around a shared visual center. Lay out the arrangement before marking the wall, then keep the group aligned over the sofa or bed. This lets each piece contribute texture without competing with the larger frame.
Adjusting and checking artwork level
- Set the frame on its hanging points. Once the frame is supported, step back and assess its top edge against nearby architectural lines, such as a mantel or doorframe. These lines help reveal a tilt that may be difficult to notice while standing close. Keep one hand on the frame as you make small adjustments.
- Compare both lower corners with the floor. Measure the distance from each bottom corner to the floor, then compare the two measurements. If one corner sits lower, the frame is not level. Shift the frame gently on its hanging hardware, then measure both corners again. Repeat until their distances match.
- Use a small round object as a visual check. Place a marble or another small round object on the frame’s top lip. Watch whether it stays in place or rolls toward one side. If it moves, adjust the frame and test again. This simple check complements the corner measurements, especially when the frame’s edge is hard to judge by eye.
- Correct movement at the hanging hardware. A frame suspended from picture wire can tilt or shift as it settles. Lift it carefully, reposition the wire on its hook, and lower it back into place. For a frame that leans forward, stick-on felt pads placed a few inches in from the lower corners can help counteract the lean and keep the presentation more composed.
- Recheck after the final adjustment. Repeat the floor-distance comparison and the marble test after repositioning the frame. Then view the artwork from the main doorway and from the seating area; a print above a sofa, for example, should appear level from the room’s usual viewpoint. If either test shows a tilt, make another small adjustment rather than forcing one corner.
Finding the right hanging height
Use the artwork’s center as your height reference: place it 48-56 inches above the floor, or start with its middle at standing eye level for a focal piece. To mark the placement, measure from the floor to your chosen center point, then calculate where the frame’s top and hanging hardware will sit. This measured approach makes how to hang large framed prints at the right height more precise.
- Choose the viewing position. Stand where the print will usually be seen, such as the main seating area or room entrance. For a single focal artwork, use standing eye level as your starting point. If the print belongs above furniture, consider the composition from the seated position too, rather than judging its height from across the room alone.
- Measure the framed print. Record its full height, including the frame, then divide that measurement in half to find the center. For example, if the frame is 30 inches tall, its center is 15 inches below the top edge. Use the outer frame dimensions, not just the image opening.
- Mark the center height on the wall. Measure upward from the floor to your chosen center point within the 48-56-inch range. Make a small pencil mark. This mark represents the artwork’s center, not its top edge or the screw position.
- Calculate the frame’s top edge. Add half the framed height to the center mark’s height. For a 30-inch frame centered at 52 inches, the top edge will sit at 67 inches above the floor. This gives you a clear reference for checking the planned placement.
- Translate the frame position to its hardware. Measure the distance from the frame’s top edge to its hanging point, then mark that distance down from the calculated top-edge position. If the print uses two hanging points, measure each one separately and transfer both positions. Hold the frame against the wall before drilling, then check that its center aligns with your original mark. These measurements help make how to hang large framed prints easier to plan accurately.
Alternatives to picture wire
- Hang the frame directly on two screws. This avoids relying on a wire that can shift along its hook. Measure the spacing between the frame’s two hanging points, then transfer that distance to the wall. Set the screws level and align each point with its corresponding screw. Lower the frame onto both supports, keeping one hand on its edge until it sits securely.
- Fit two hooks or D-rings for a balanced hang. Attach D-rings a few inches in from the frame’s outer edges, at matching heights. Use their positions to mark two wall hooks, then align the marks before installing the hardware. With a helper supporting the frame, lower each D-ring onto its hook. Two contact points help keep the frame from pivoting around one central hanger.
- Use a French cleat for a broad, stable connection. Fix one part of the cleat to the frame and its matching part to the wall, following the hardware’s orientation. Align the wall section before fastening it, then lift the frame and lower the paired sections together. A French cleat may require as few as two drill holes or as many as six, depending on its design.
- Choose a no-nail display for a lighter print. Washi tape can hold prints without nails, while a floating shelf lets you lean a framed print against the wall. Set a leaning frame fully on the shelf, rather than balancing it partly over the edge. These approaches suit display preferences that avoid drilled hardware, but they aren’t substitutes for secure support on a heavy frame.
- Skip adhesive strips for large framed art. Command Strips aren’t recommended for hanging this wall art. Instead, select a mechanical support that suits the frame and wall, then follow the hardware’s installation directions. After hanging, check that both supports engage and the frame stays in place when lightly touched.
Galerie Prints
Galerie Prints offers a Bespoke Framing Service for customers choosing artwork and considering how its frame will sit in a room. Framing is part of the finished presentation, alongside the image, wall placement, and hanging method. Consider these elements together before installation.
The collections include The Slim Aarons Collection, Terry O’Neill Photography, Cinema Lobby Cards, and Star Wars Limited Edition Prints. Whether you choose a photographic image or a cinematic work, the hanging principles in this guide can help you plan a balanced display and choose suitable support for the framed piece.
For guidance on framing artwork for your space, contact Galerie Prints.
Make the Artwork Part of the Room
The right print does more than fill a wall; it gives a room a visual point of view. When deciding how to hang large framed prints, consider how the image relates to the room’s light, furnishings, and atmosphere. A photograph from The Slim Aarons Collection, Terry O’Neill Photography, or a Cinema Lobby Card can each give a space a distinct character.
Once you’ve chosen an image, plan its placement and framing as parts of the same composition. A considered frame can help the artwork sit naturally among the room’s materials and forms, while a well-planned position gives the image space to draw attention without overwhelming its surroundings.
For guidance as you consider a piece and its presentation, Ask Galerie Prints for hanging advice. Let your next artwork bring a distinctive note of history and character to the room.
Frequently Asked Questions
How high should a large framed print hang above the floor or furniture?
Place the artwork’s center 48-56 inches above the floor as a starting point, or begin with its middle at standing eye level for a focal piece. Above a sofa, bed, or mantel, align the print with the furniture’s center. Consider the room’s usual viewing position, since a piece viewed mainly from a seated area may need a different visual balance.
How do I find wall studs before hanging a large framed picture?
Use a stud finder to locate the stud, then mark its center where the bracket will sit. You can scan nearby areas to identify the stud’s edges and position the mark between them. Studs are typically spaced 16 inches from center to center, but treat that spacing as a guide, not a substitute for locating the stud itself.
What picture-hanging hardware is best for a heavy framed print?
For a heavy frame, attach the hanging bracket to a wall stud when possible. If the frame is designed for two hanging points, mounting it directly on two wall screws can be a more secure alternative to picture wire. A French cleat is another option: its interlocking sections are fixed to the frame and wall. Choose a method suited to the frame’s construction.
How much weight can picture hooks, nails, and drywall anchors support?
There isn’t one safe weight limit for every hook, nail, or drywall anchor. Capacity depends on the specific hardware, the wall material, and correct installation. Read the hardware’s stated rating and compare it with the complete framed artwork’s weight. For artwork weighing more than 20 pounds, art consultant Faye Urlacher recommends anchoring it into a wall stud.
How do I hang a large framed print securely on drywall, plaster, brick, or concrete?
Choose fasteners suited to the wall material rather than treating every surface like drywall. On standard drywall, secure the bracket to a stud or use an appropriate wall anchor if it cannot reach one. Plaster, brick, and concrete require compatible fixings. Before hanging the frame, check that each fastener is firmly in place.
How can I prevent a large framed print from tilting or damaging the wall?
Use two well-aligned hanging points to reduce the frame’s tendency to pivot, then check that it sits evenly after installation. If picture wire makes the frame lean forward, stick-on felt pads placed a few inches in from the lower corners can help counter the angle. Lift the frame to adjust its position instead of dragging its edges across the wall.